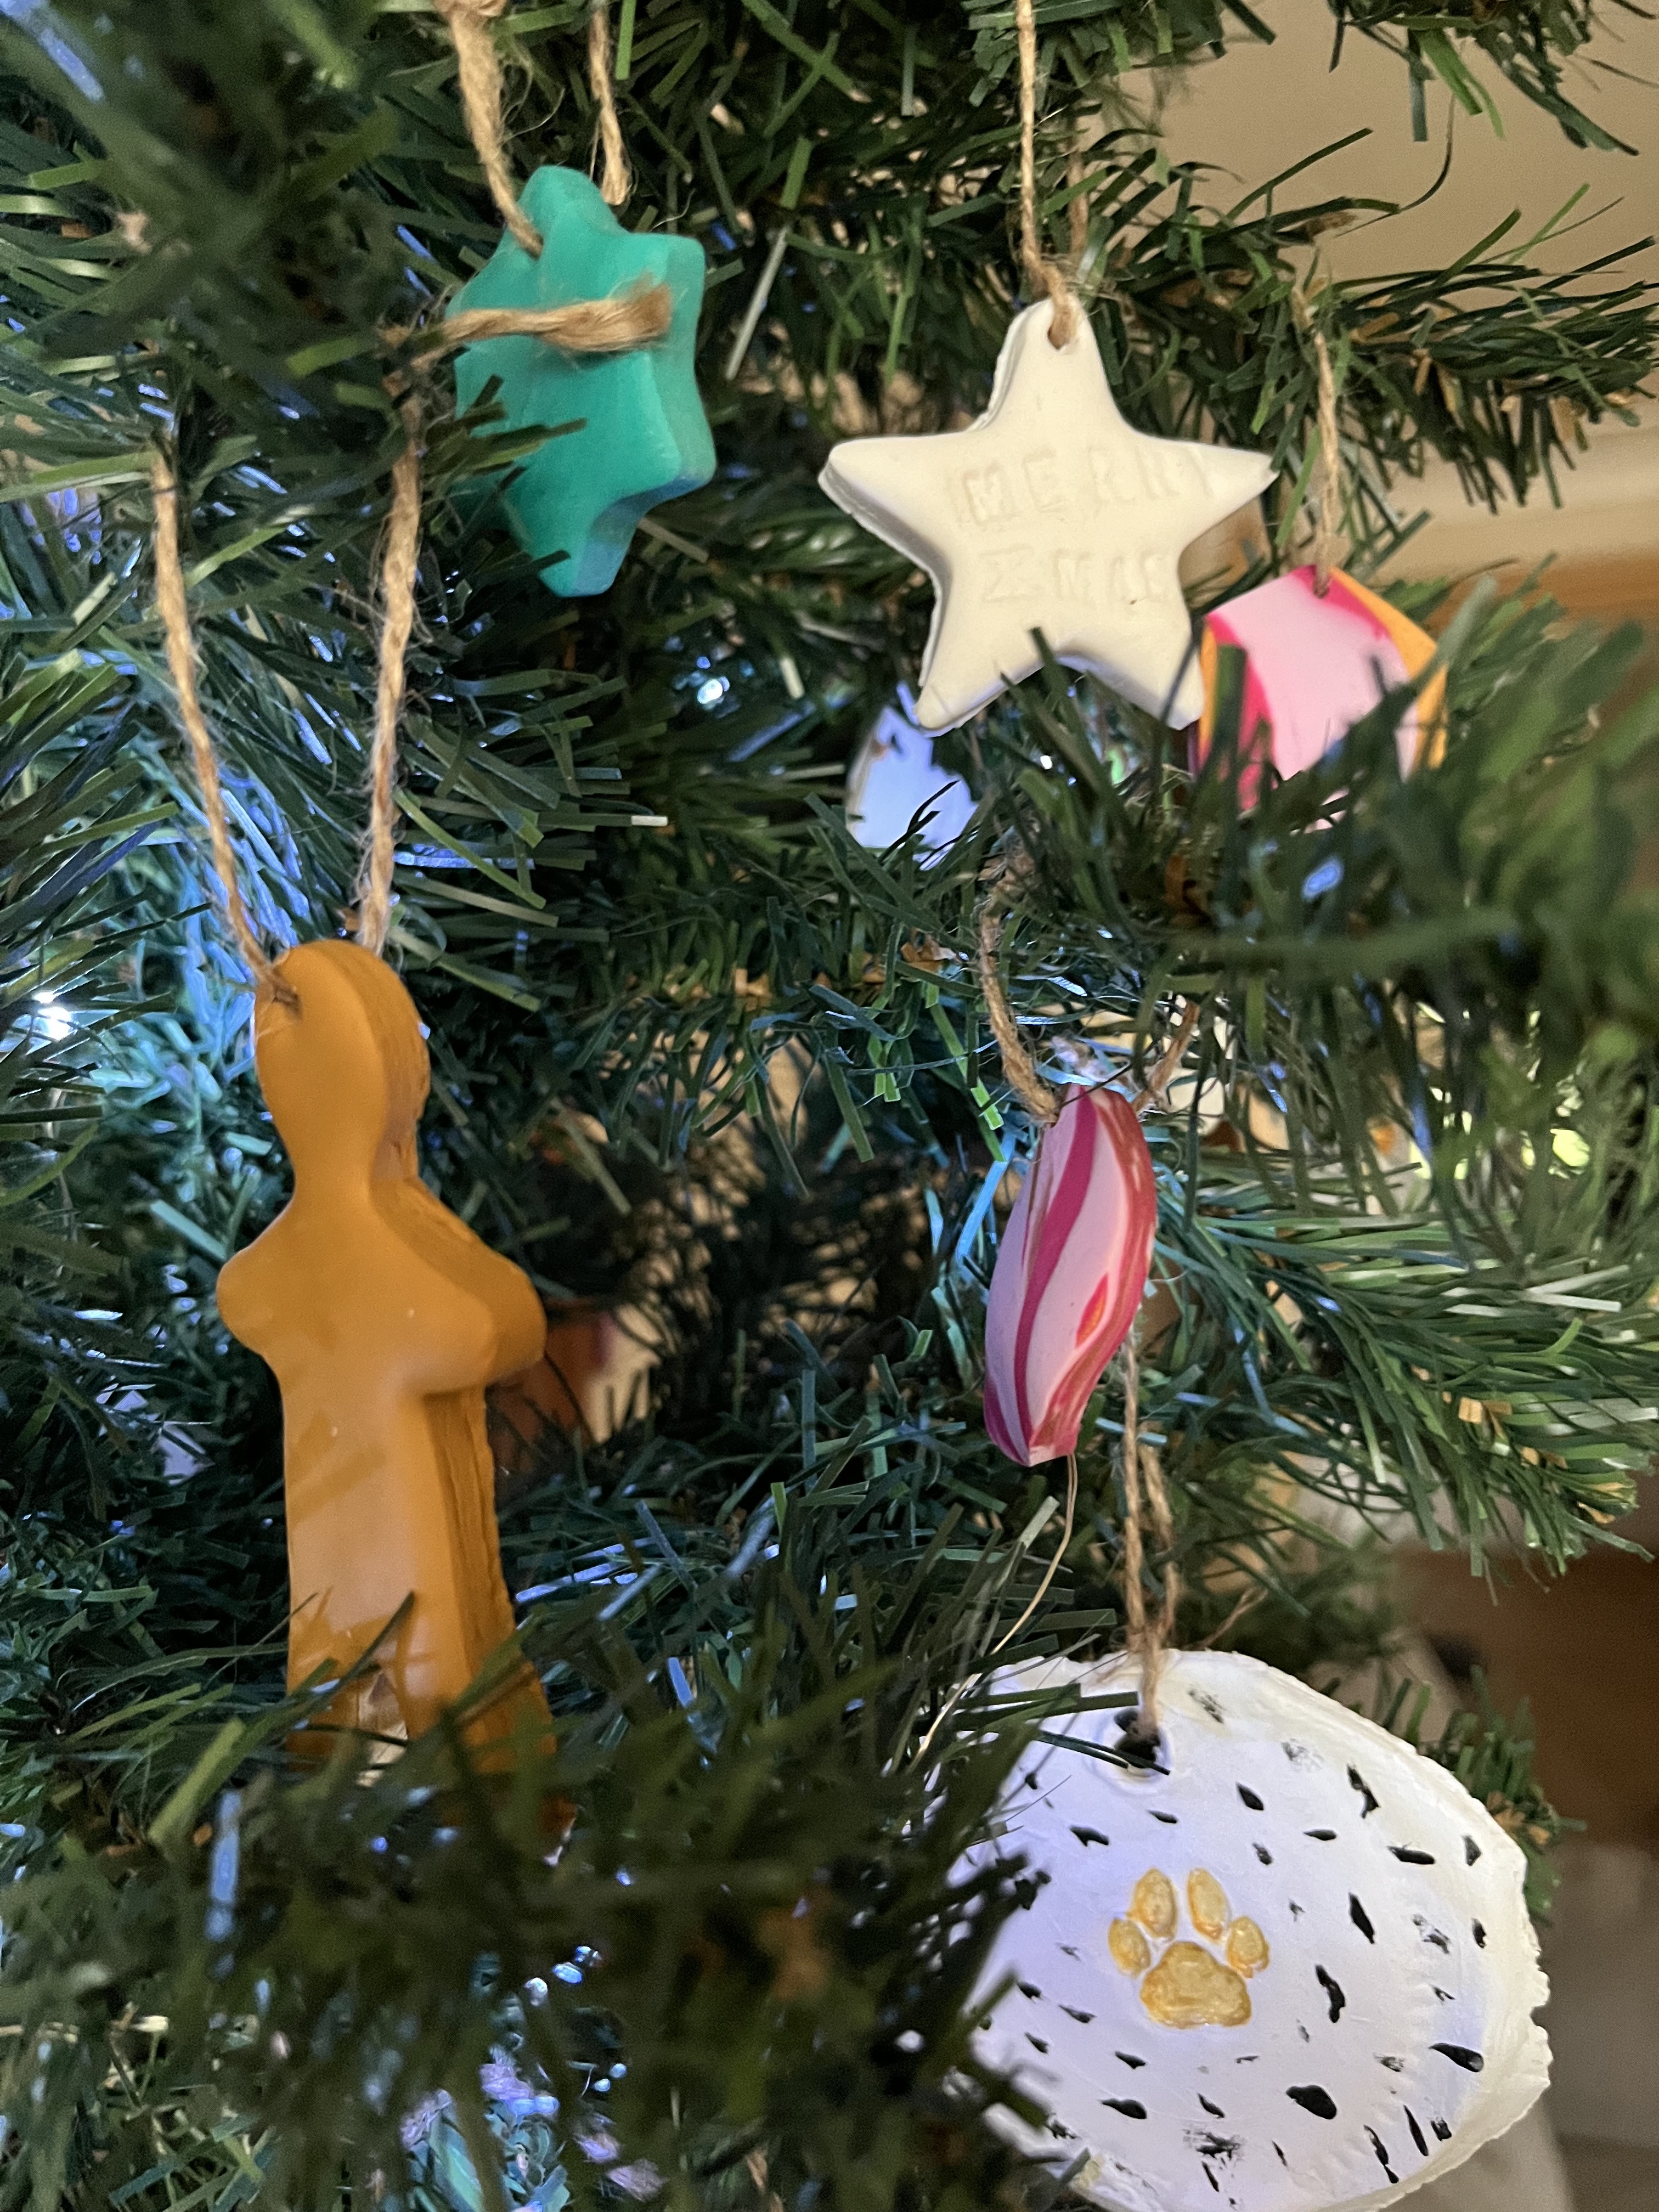
Since getting a Cocker Spaniel, I've realised that having the 'proper' tree up is a bit of a dangerous act. Flying spaniels and baubles probably don't mix. So, for the last couple of Christmases, we've had a small 4ft artificial tree with a handful of decorations that I made myself. Here's how to make your own decorations out of air dry and/or polymer clay (I've done both!)
How to make air dry clay handmade Christmas decorations
For this you'll need:
- Air dry clay. (I use DAS clay, but you also can use something more affordable like Hobbycraft's fantastic own brand clay)
- Cutters - cookie cutters will do just fine (just don't use them for baking afterwards!)
- An old chopping board (preferably glass topped, because it's easier to wiggle the clay off when it needs turning.)
- A little water.
- Rolling pin.
- Cocktail stick.
- String or ribbon.
Optional
- Letter stamps.
- Paint and small brushes.
1.) Firstly, roll out a little clay on the board. If it's not very malleable, wet it with your fingers slightly.
2.) Once you've got it to around the thickness of a pound coin, you can start using the cutters.
3.) Pull the remaining clay off from around the shapes that you've cut. (You can use this for something else, or pop it back in the packet. If you put it in a sealed container it should last for ages.)
4.) Now's the time to stamp any writing you want into it. I went for the standard 'Xmas', 'Noel', and 'Merry Xmas' in some of mine. (I also made them in bone shapes for the dogs we've had and lost in our family, stamping their names into the clay as a little festive memorial for them.)
5.) Using the cocktail stick, make a little hole at the top of your decorations, so that you can thread string or ribbon through when they're dry to hang them up with.
6.) Leave to dry for at least 24 hours. When it changes colour, it's time to turn them and let them dry on the other side. This could take another 24 hours or so. (Patience is key with air dry clay!)
7.) When it's dry, thread your string or ribbon through and tie a knot.
8.) If you want to paint them, now's the time. (Acrylic paint is the right one to use.)
9.) Hang them up on your tree!
How to make polymer clay Christmas decorations
You will need:
- Polymer clay (I prefer Fimo)
- Cutters
- Baking paper
- Baking tray
- An oven
- Cocktail stick
- String or ribbon
- Rolling pin.
Optional:
- Stamps
1.) Roll out your clay and work it in your hands (the heat of your hands should activate it more).
(If you want a marbled effect, follow a tutorial like this.)
2.) Roll it to the thickness of around a pound coin.
3.) Cut your shapes.
4.) If you want to stamp on them, do it now.
5.) Place the baking paper on your tray, and then carefully move your polymer clay pieces onto the paper. (If they're sticking to the surface you're working them on, then slide a metal ruler underneath to move them easily.)
6.) Bake according to the instructions on the packet.
7.) When cooled, thread the string or ribbon through.
8.) Hang on your tree!


Post a Comment